Quick Start Guide

Let's activate your sourdough starter!
Already have an active starter and ready to bake? Skip straight to our favourite recipes.


The culture
Give the starter culture sachets a good shake, then open them BOTH and empty the contents into a jar or a glass.

Add flour
Add 50 grams of plain flour to the jar (approx 6 level tablespoons).
Here's where you can choose the type of starter you want - use wheat flour for a classic sourdough, OR a GF flour.
If you'd like to make your starter gluten-free, we recommend reading our Gluten-Free Sourdough Guide first.

Add water
Add 50mls (approx 1/4 cup) of room temperature water to the dry ingredients.

Stir it up
Gently stir until all ingredients are combined and there are no lumps.
The mixture should be of a consistency that 'hangs' off your spoon, so add a little more water or flour if it is too thick or too runny.

Activation
It's now time to bring your starter to life!
Find a place where the ambient room temperature is in 'just right' zone on the temperature card in your pack (or as close to it as possible - don't worry if it's a little above or below).
For a sourdough starter to activate, it needs to be comfortably warm to keep the yeast active and facilitate the fermentation process.
Can't see the temp?
Shining the torchlight from your phone on the number strip will make it easier to see the highlighted temp.

Launchpad
Tear open the packet above the zip lock and take out the two pads.
Give them a few good shakes, then use your fingers to break up any clumps that you can feel inside the bags.

Heat it
Flatten out the pads, then sit your jar of sourdough starter on top.
Ensure a stable base by moving them further apart or closer together, depending on the width of your jar.
After a few minutes, the Launchpad packs will warm up, providing a bed of natural heat to gently assist in the activation of your starter.

Watch for bubbles
As soon as you see bubbles (even tiny ones!) on the surface and bottom/sides of the jar, your starter is active!
Depending on the temperature of your room, this could take between 15 minutes and 2 hours.
Congratulations!
You've brought your Sourdough Starter to life!


Let it rise
Leave your starter on top of your Launchpad for a 1-2 hours, in which time it should rise to around double its original size.
Hot tip: you can use the black rubber band in your pack to mark its starting level ;)
Don't worry if it only rises a little, this can vary depending on room temp. As long as you can see bubbles it is active.
After 1-2 hours, return your Launchpad to its bag, resealing the zip lock. Without exposure to oxygen, it will naturally cool back down.

The Launchpad is designed for a single mission: to wake up your starter.
The initial activation is helped along by the extra boost, but once your starter is alive, you won't need it again.
1. Cool: Return used pads to the black bag and seal the zip-lock. After 1-2 hours they will naturally cool down.
2. Return to Earth: Once cool, cut open and mix the contents into garden soil, where it will act as a natural conditioner.

Baking!
To start baking, you'll need 50 grams of active starter, plus enough left over to continue to grow for your future bakes (ideally at least 100 grams).
If your starter has risen enough for this, you're ready to bake! Links to our favourite recipes are below - we recommend starting with Mary Grace's Classic Sourdough Bread.
If you don't have enough to start baking right away, cover your starter with the cloth cover from your pack and leave at room temperature overnight. Then the next day, give your starter a feed by stirring in equal parts flour and water - so for example, if you have 50g of starter to begin with, stir in 50g of water and 50g of flour.
Give your fed starter another hour or two on top of the Launchpad, and then you're ready to bake! Once you've added the starter needed for your recipe, pop the cover back on your jar of remaining starter and put it in the fridge for next time.
Sourdough Recipes
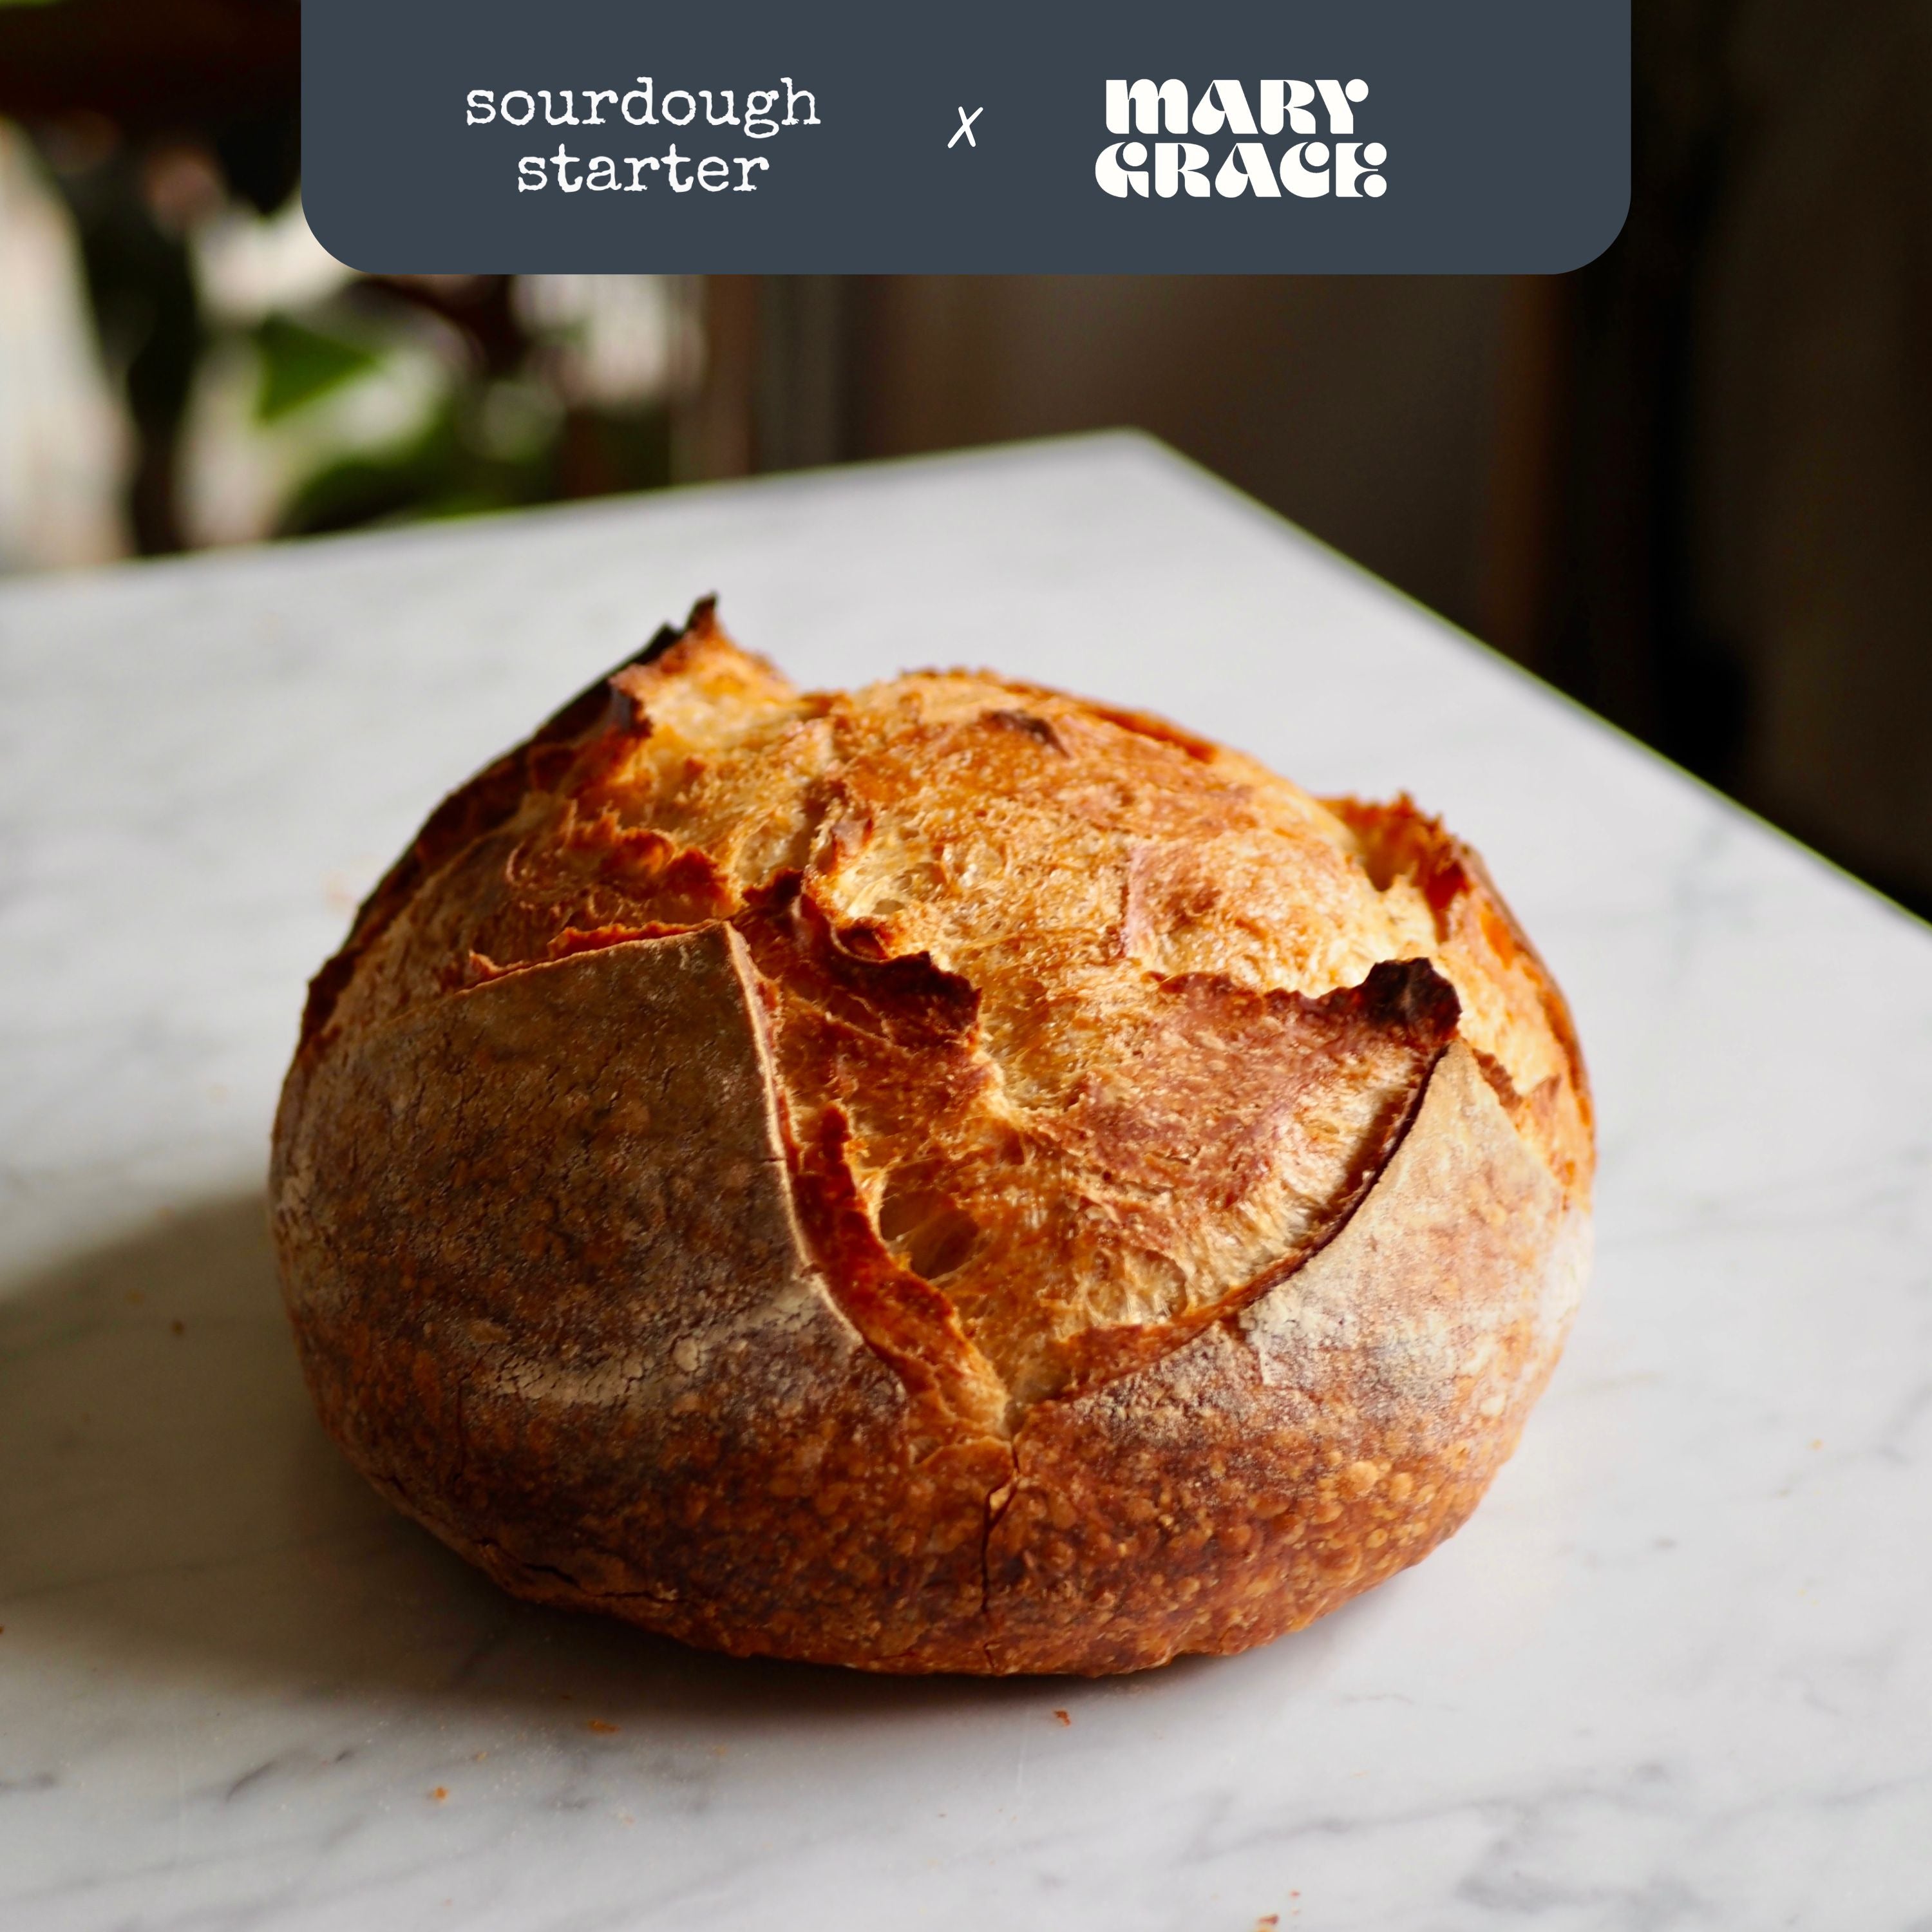
Created especially for Sourdough Starter, this recipe by Aussie sourdough baker Mary Grace Quigley iCreated especially for Sourdough Starter, this recipe by Aussie sourdough baker Mary Grace Quigley is our go-to for delicious sourdough bread. With just a few steps and simple techniques, it's a great one for beginners. We recommend giving your starter a good feed mid-afternoon, then starting this recipe in the early evening to set yourself up for freshly baked sourdough the following morning.
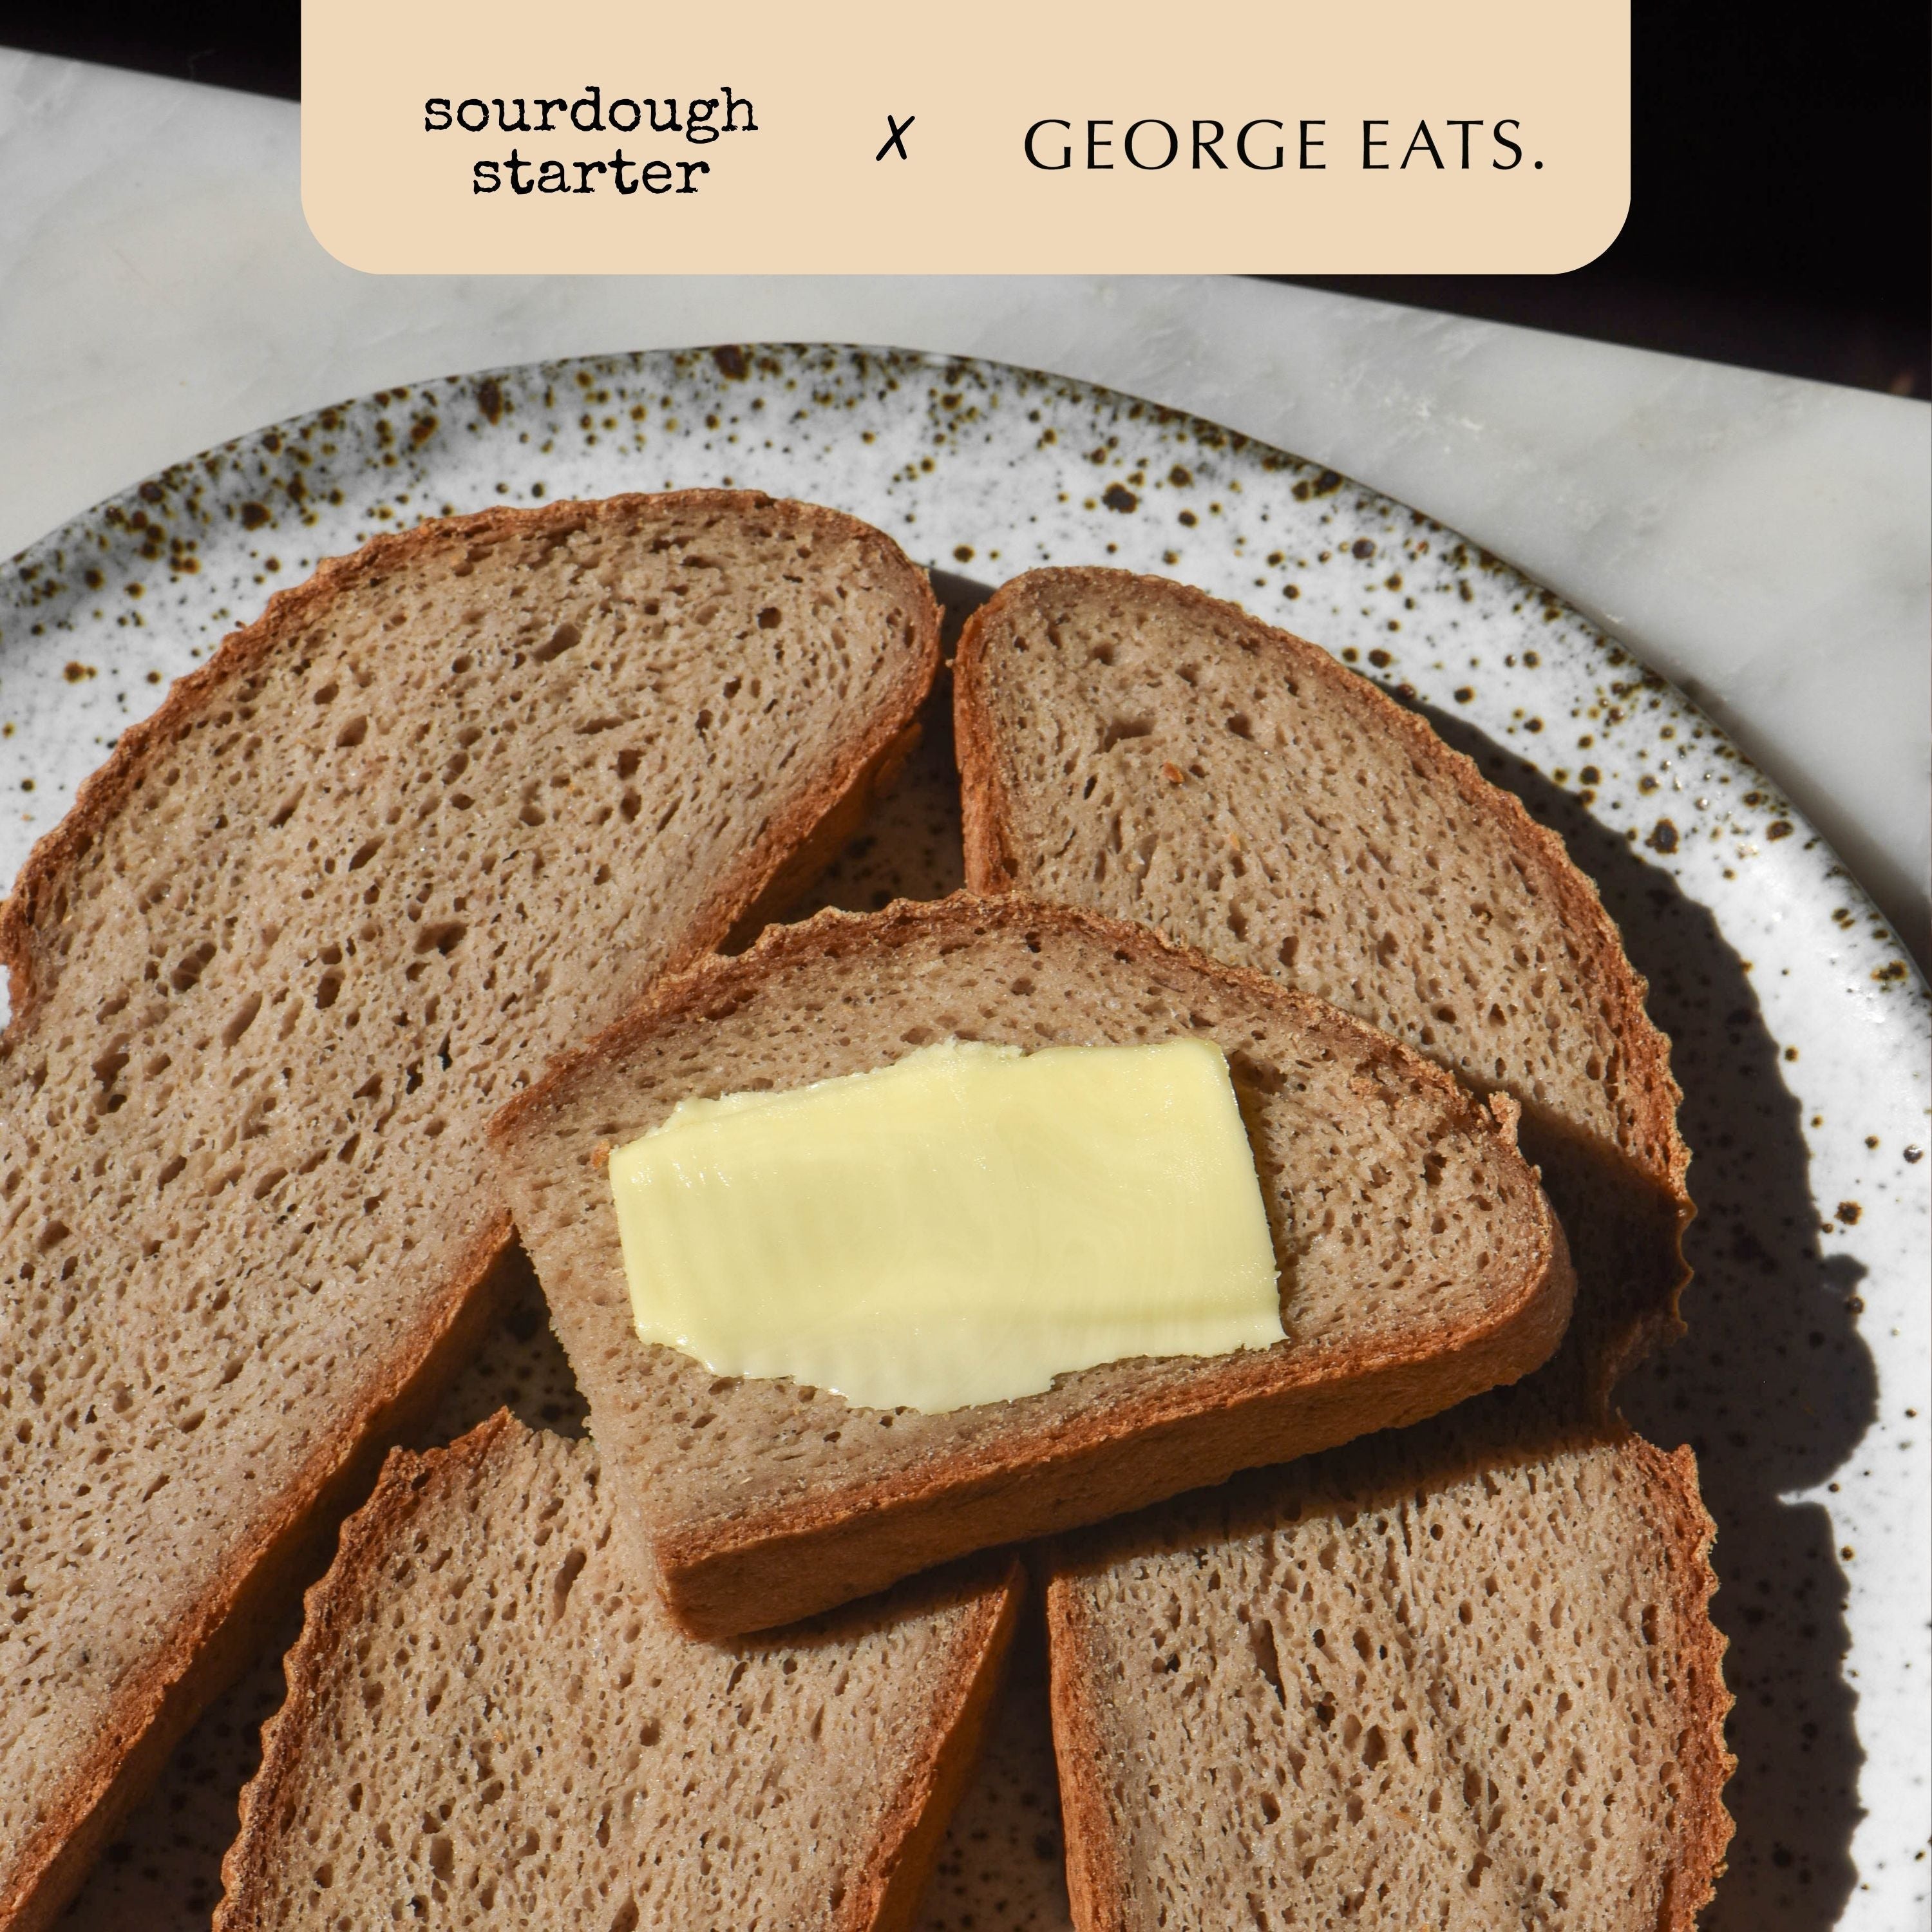
Created exclusively for Sourdough Starter by expert gluten-free recipe developer Georgia McDermott (Created exclusively for Sourdough Starter by expert gluten-free recipe developer Georgia McDermott (George Eats) is the ultimate guide to bakery-quality GF bread at home. If you've tried an failed with GF sourdough before, this is for you - Georgia has created a beautiful recipe that is 100% gluten-free, and 100% delicious.
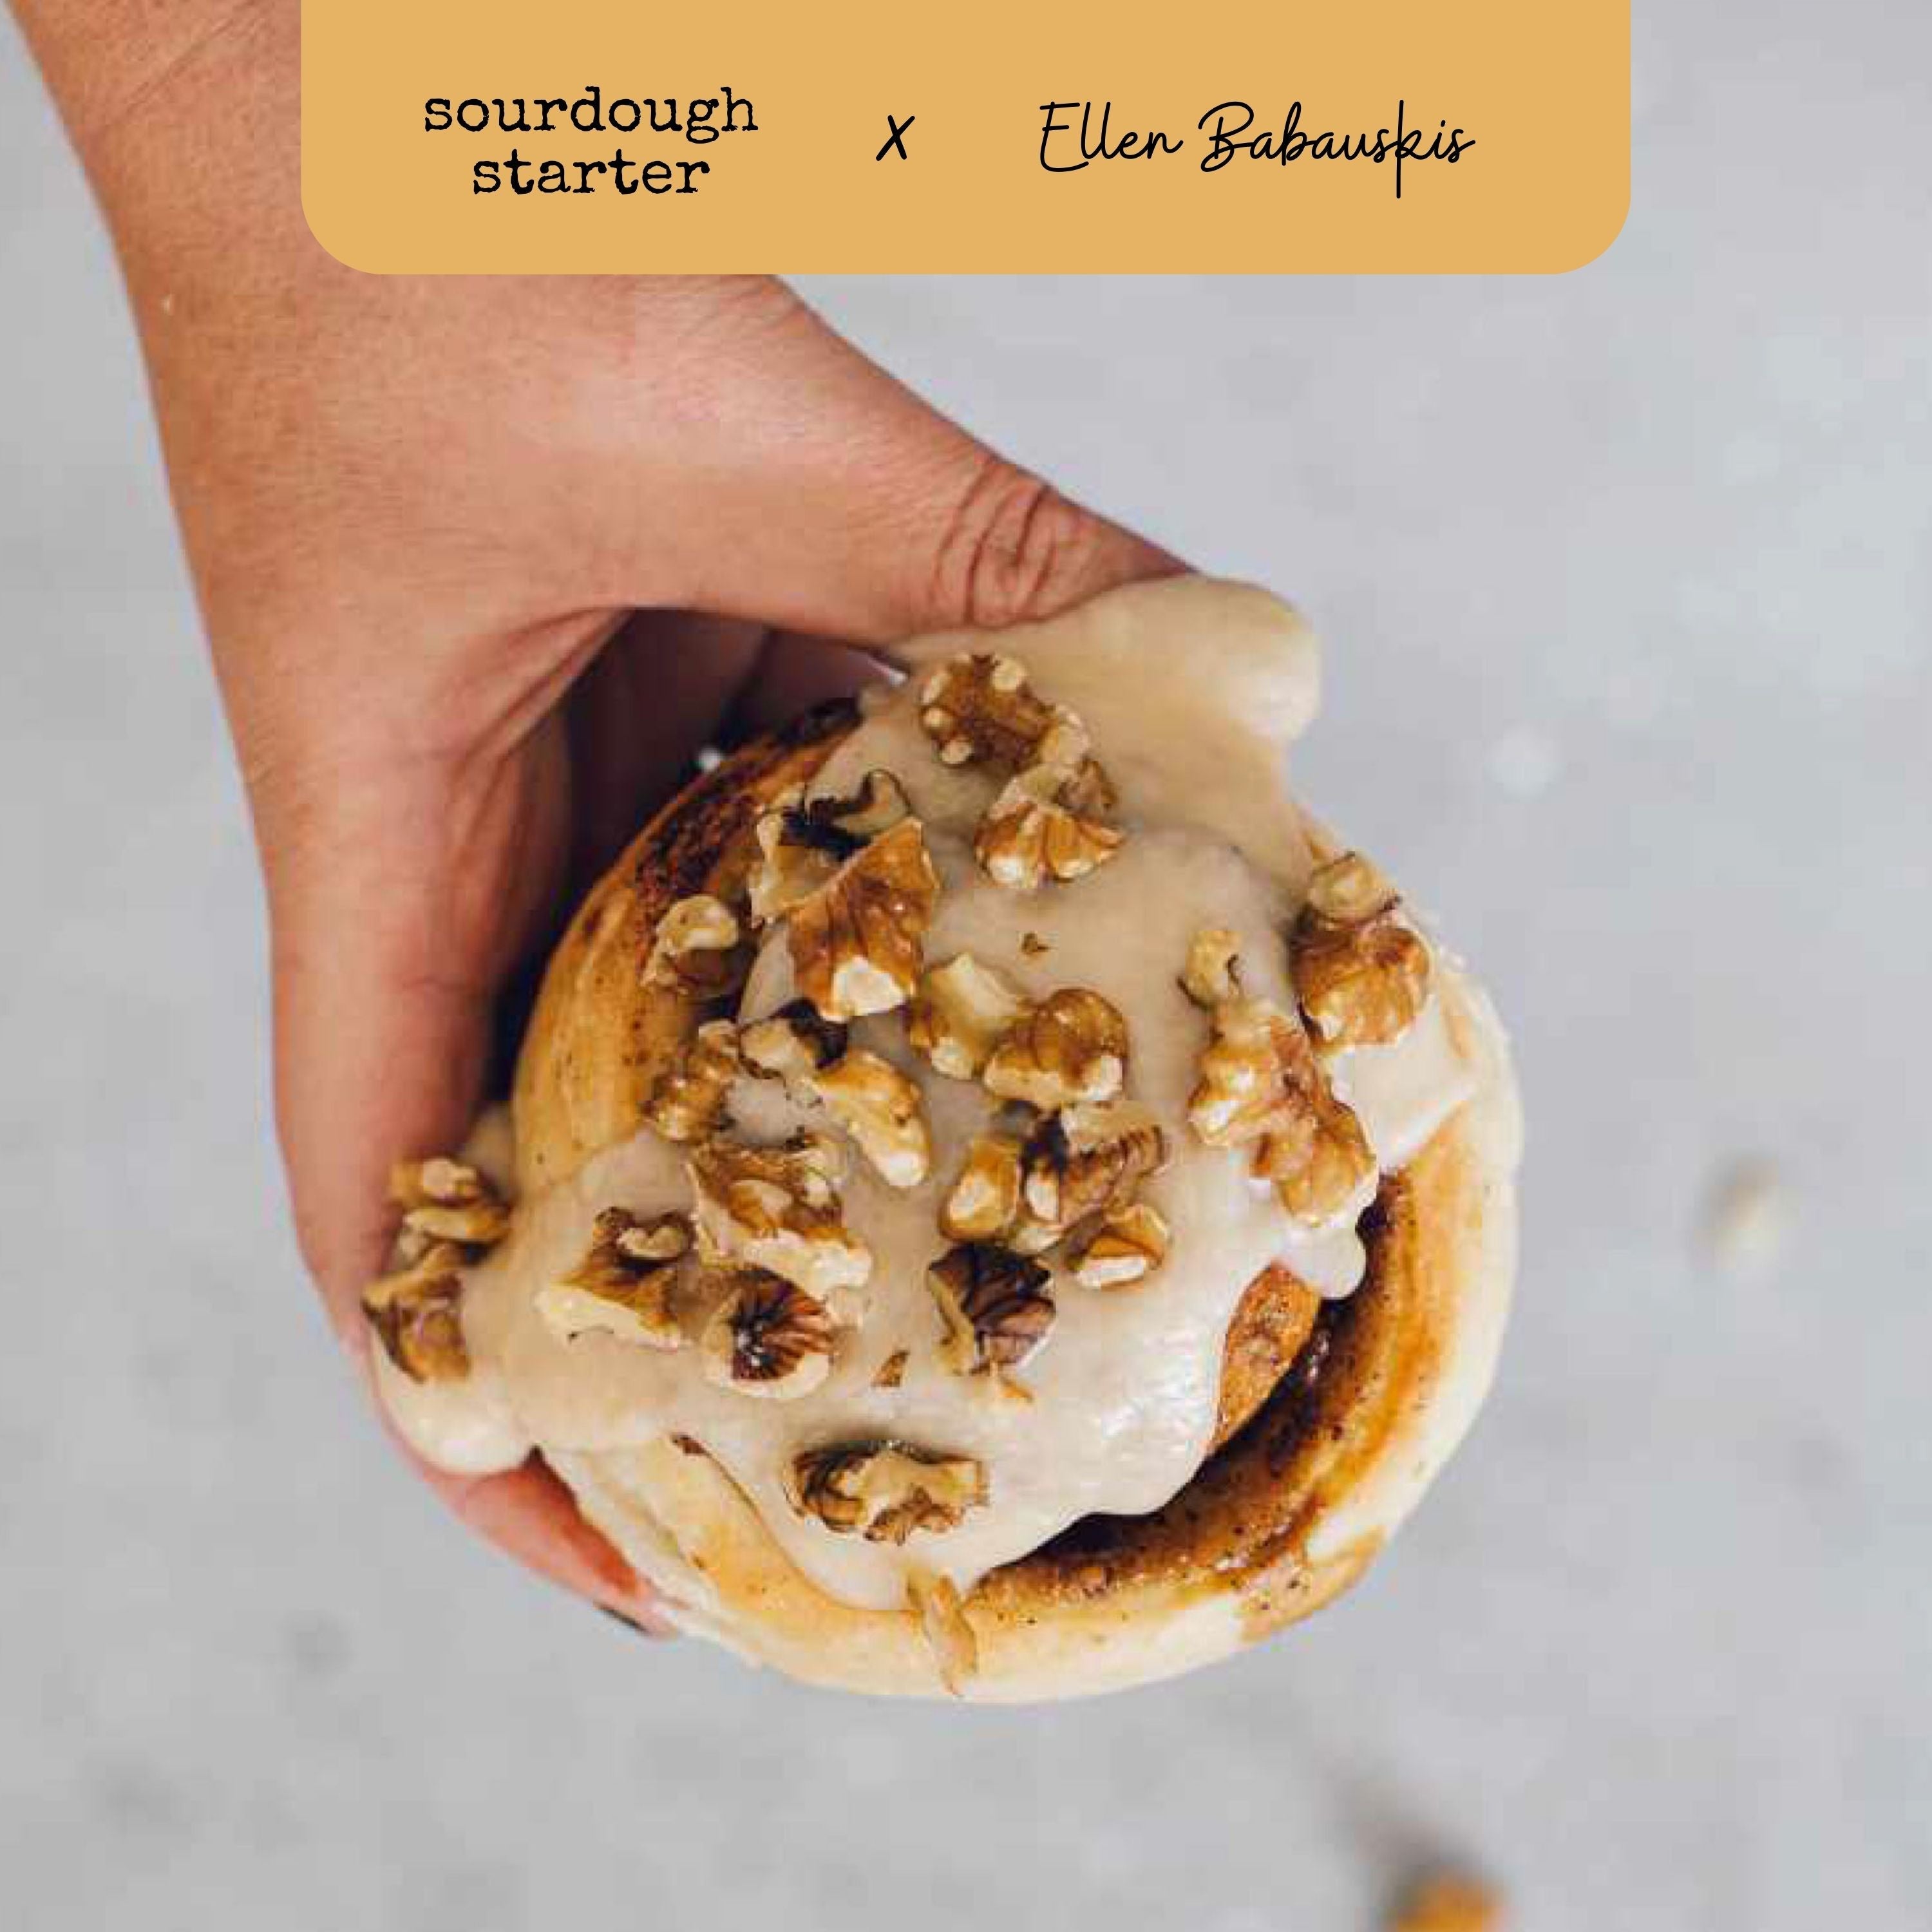
One of our favourite recipes from Ellen's Simple Sourdough book, these sourdough cinnamon rolls combOne of our favourite recipes from Ellen's Simple Sourdough book, these sourdough cinnamon rolls combine tangy and sweet flavours for a fluffy texture. Their comforting aroma makes them irresistible, whether fresh or reheated, adding warmth to your baking collection.
Caring for your starter
To keep your Sourdough Starter Culture healthy and free of any external bacteria, keep it in the fridge covered with the supplied cloth cap. If your jar has a lid, you can put the lid on loosely (too tight and the gases that escape from your starter cannot escape). |
|
Give it a "feed" once or twice a week by stirring in flour and water. Aim for feeding ratio of 1:1:1 (ie. equal parts sourdough starter:flour:water - if you have approx 100 grams of starter to begin with, feed with approx 100g of flour and 100g of water) discarding some starter initially if needed. |
|
If possible, leave it somewhere warm for an hour or two after each feed, before using it to bake or putting it back in the fridge. |