
Tear open the starter culture packet and empty the contents into a jar or a glass.

Add two and a half tablespoons of plain flour to the jar.
Add approximately two tablespoons of room temperature water to the dry ingredients.
Gently stir until all ingredients are combined and there are no lumps.
The mixture should be of a consistency that 'hangs' off your spoon, so add a little more water or flour if it is too thick or too runny.


For a sourdough starter to activate, it needs to be comfortably warm - ideally 22-28° C - to keep the yeast active and facilitate the fermentation process.
Use the temperature card in your pack to gauge your ambient room temp. If it sits below the 'just right' zone on your temperature card then we recommend using the Launchpad to help activate your starter.
You can also use Launchpad if you room is warm enough, but you just want to speed things up a bit. Our tests show that using the launchpad will activate your starter up to five times faster, even in already warm environments 🚀
Tear open the packet above the zip lock and take out the two pads.
Give them a few good shakes, then use your fingers to break up any clumps that you can feel inside the bags.
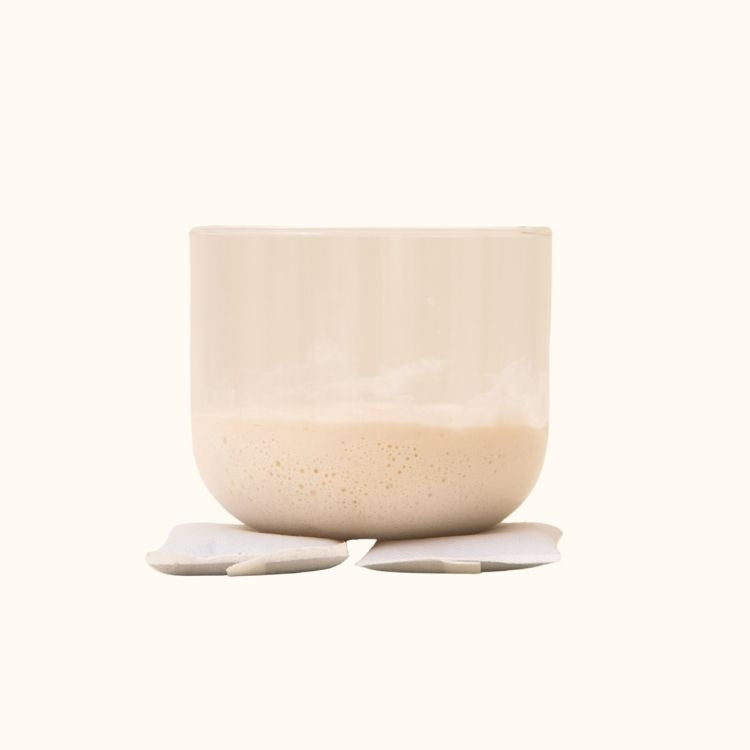
Flatten out the pads, then sit your jar of sourdough starter on top. Ensure a stable base by moving them further apart or closer together, depending on the width of your jar.
After a few minutes, the Launchpad packs will warm up, providing a bed of natural heat to gently assist in the activation of your starter.
Depending on the temperature of your room, this could take between 15 minutes and 2 hours.
Once your see bubbles on the surface and sides of the jar, your starter is active!

Nice one👏
Leave your starter on top of your Launchpad for a couple of hours, in which time it should rise a little (you can use the black rubber band in your pack to mark its starting level). Don't worry if it doesn't rise very much, so long as you can see bubbles it is active.
After 1-2 hours, return your Launchpad to its bag, resealing the zip lock. Without exposure to oxygen, it will naturally cool back down.
If you don't have enough for this right away, then cover your starter with the cloth cover from your pack (this protects it from other bacteria) and leave at room temperature overnight. Then the next day, give your starter a feed by stirring in equal parts flour and water - so for example, if you have 50g of starter to begin with, stir in 50g of water and 50g of flour. Measurements don't need to be exact, you're just looking for a nice gloopy consistency that hangs off your spatula, like this.
Give your fed starter another hour or two on top of the Launchpad, and then you're ready to bake! Once you've added the starter needed for your recipe, pop the cover back on your jar of remaining starter and put it in the fridge for next time.